Tips and Tricks to Add Stability to Your Vinyl Fence
When you were young, did you ever pretend to build structures with plastic tools and blocks? Assembling a vinyl fence is just as simple, but you will have a long-lasting and functional result. Vinyl fencing is easy to install and assemble and has additional benefits, including little maintenance, rust, and weather resistance. But you may still wonder, “How does a vinyl fence go together?"
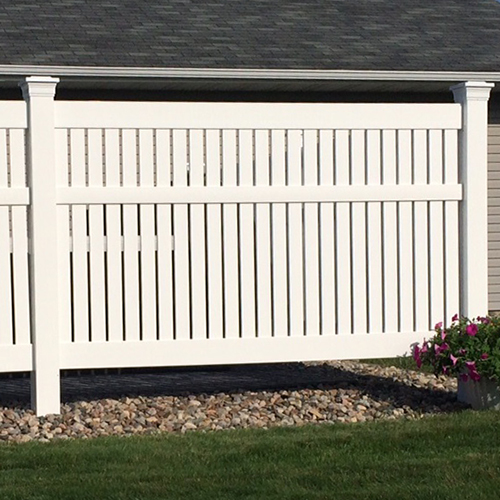
Assembling A Vinyl Fence
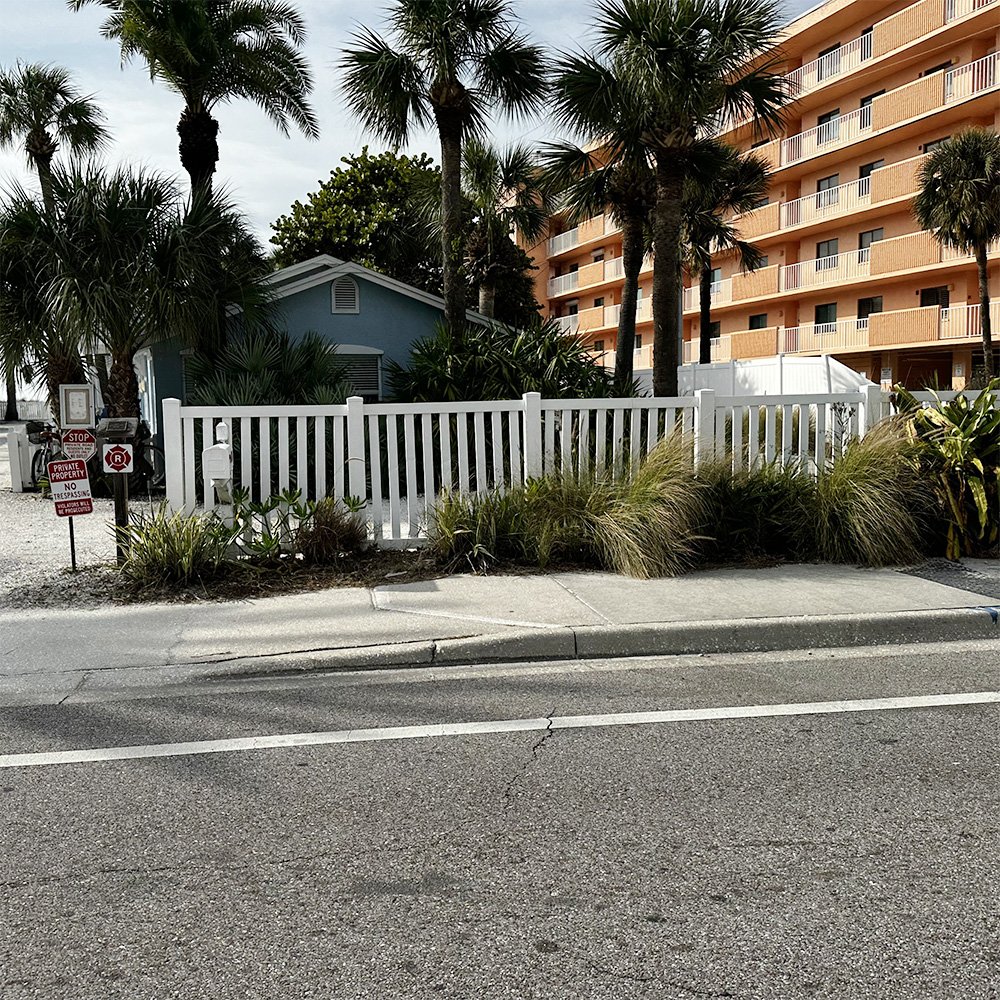
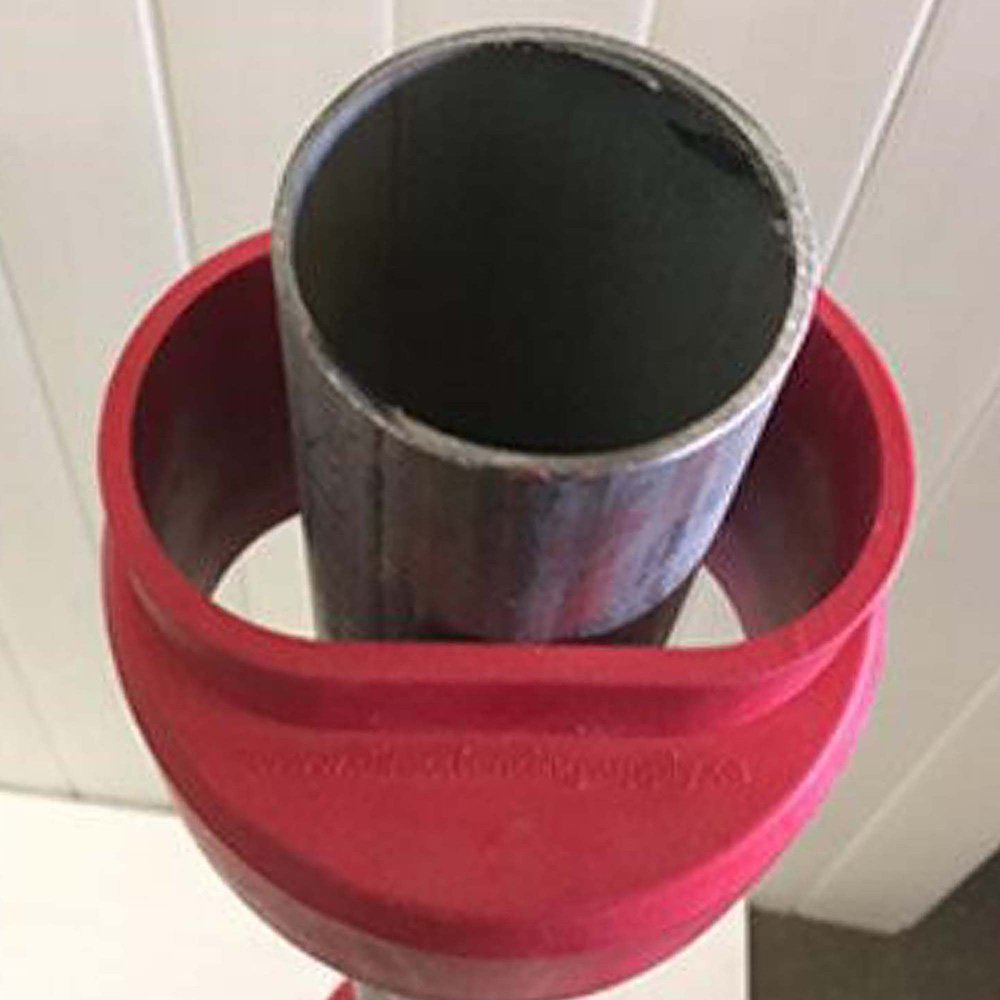
Start by planning where each post will be placed. Then, you can install each fence post. Installing each fence post first will allow you to establish a foundation before assembling the rest of the fence. You can convert an old fence into vinyl or build from the ground up; either way, we recommend the no-dig method. No dig vinyl fencing means you pound a post, which can be wood or metal, into the ground to stabilize the vinyl post sleeve. You can read more about vinyl fence post installation in these articles:
- Fence Post Donuts For A No-Dig Vinyl Fence
- No Dig Vinyl Fence Products
- How to Install A Vinyl Fence Without Digging With No-Dig Donuts
- How We Build No-Dig Vinyl Fences
After the posts have been installed, leveled, and stabilized, it is time to assemble each section. The following steps depend on your vinyl fence design; for example, you may be building a solid wall or creating an open design between fence posts. So, apply the following assembly instructions as needed.
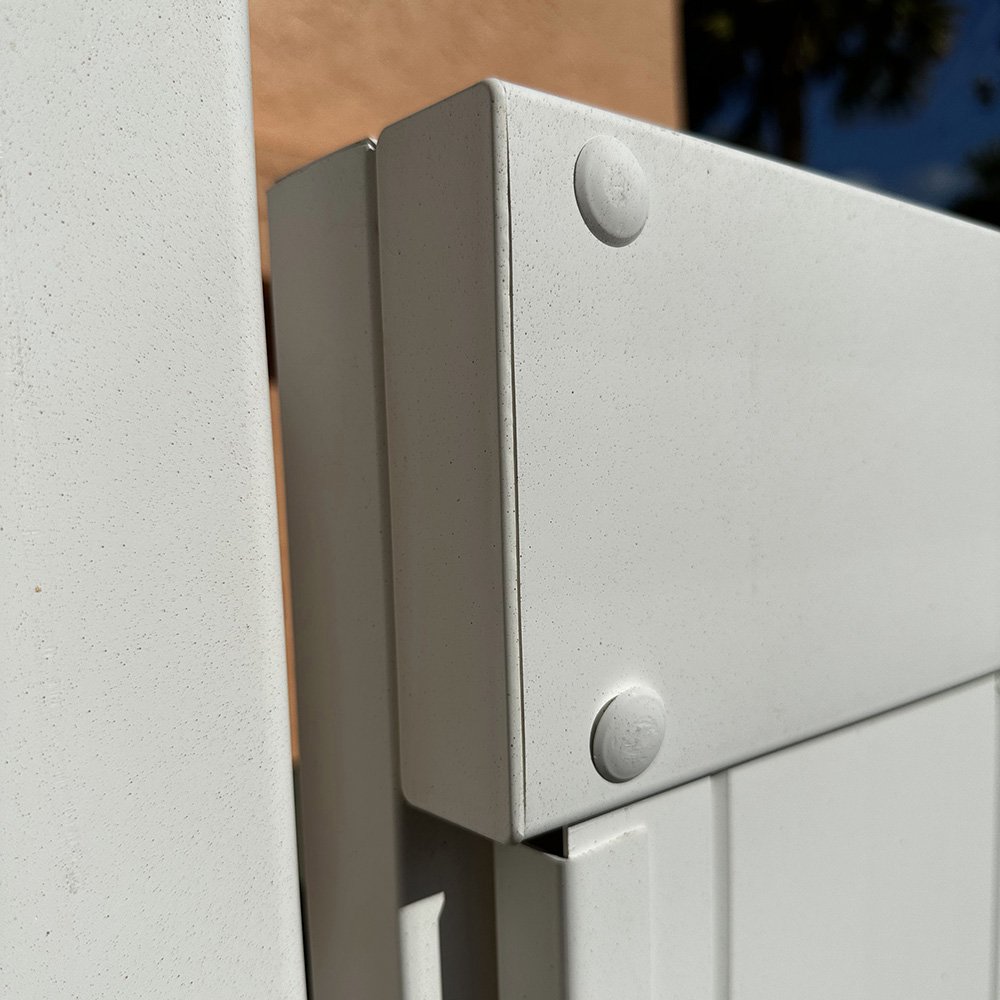
Start from the ground and build up as you assemble the fence panels or sections. Starting with the bottom rail, you will want to place the rail locking clips into the rail and slide the rail into the designated post slots. The clip will spring back open to lock the rail into place. Once the bottom rail is in place, instructions differ. If your fence posts have slots for assembly, you are ready to go; if they do not, you will want to measure and cut slots for railings, or you can use rail brackets.
Assembling A Panelized Vinyl Fence
If you are assembling a vinyl fence with more of an ornamental design element with vertical pickets and maybe more than just a top and bottom rail, your bottom rail should have slots for each picket. Once the bottom rail is in place, you can position the pickets in the bottom rail. With all the pickets in place, you can then place your intermediate and top rails. Simply snap each picket into the rail and then snap the rail into place within the fence post. Repeat this process for each fence panel section.
Assembling A Rail & Board Vinyl Fence
If you are assembling a vinyl fence that is more of a solid wall, you will want to secure U-channels vertically along the fence posts with self-drilling screws. The U-channel will allow you to slide each “rail" or lattice into place simply. Then, you can position the top rail into place just as you did with the bottom rail. Repeat this process for each fence panel section.
*Note that you may also have to cut each panel to the desired length. This process should be done before attempts to assemble and will require a measuring tape, circular saw, and safety gear.
Vinyl Fence Fittings & Hardware
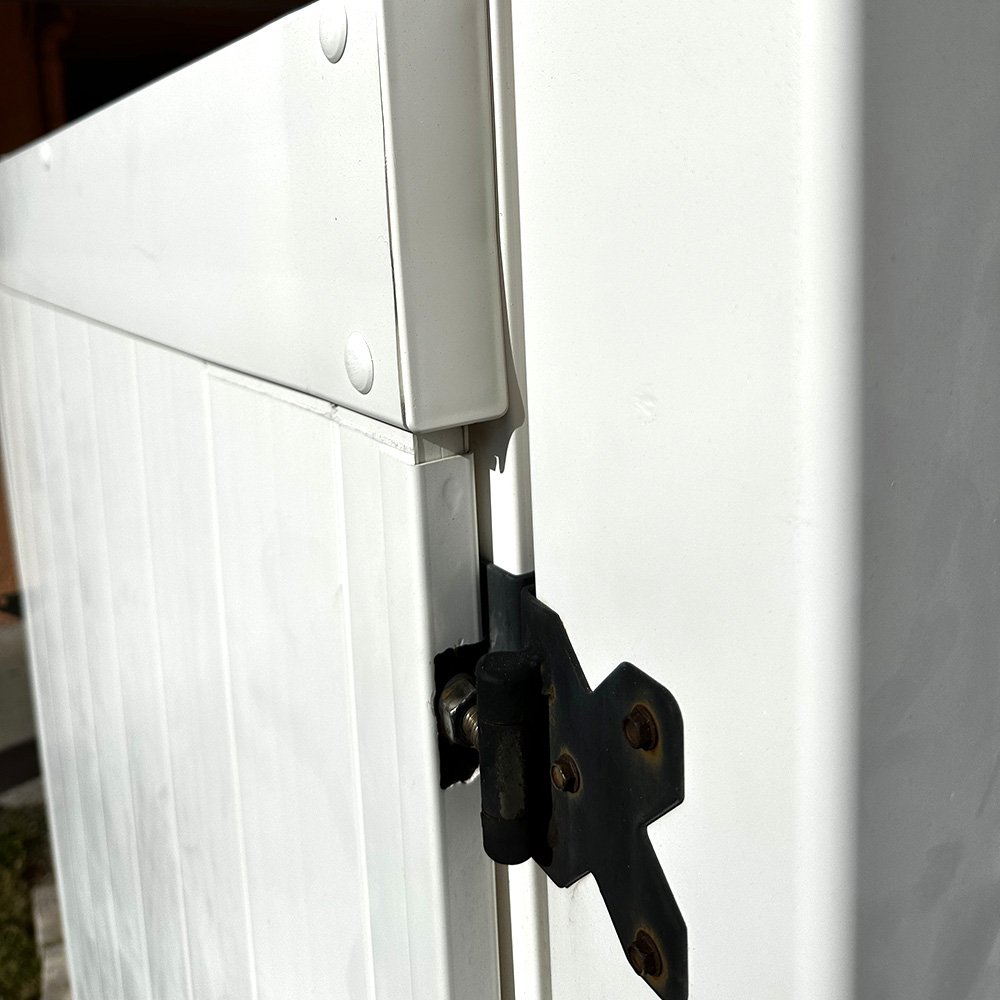
Now that the vinyl fence has been assembled, you may still question functionality or design elements. To assemble a gate, you will follow similar steps but on a gate frame rather than between fence posts. For a gate, you will need at least, hinges and screws. For the entire fence, you will want to explore post caps and other decorative elements, and maybe even adapters, brackets, and installation tools. To explore various types of fittings and hardware, click below.
Vinyl Fittings & Hardware