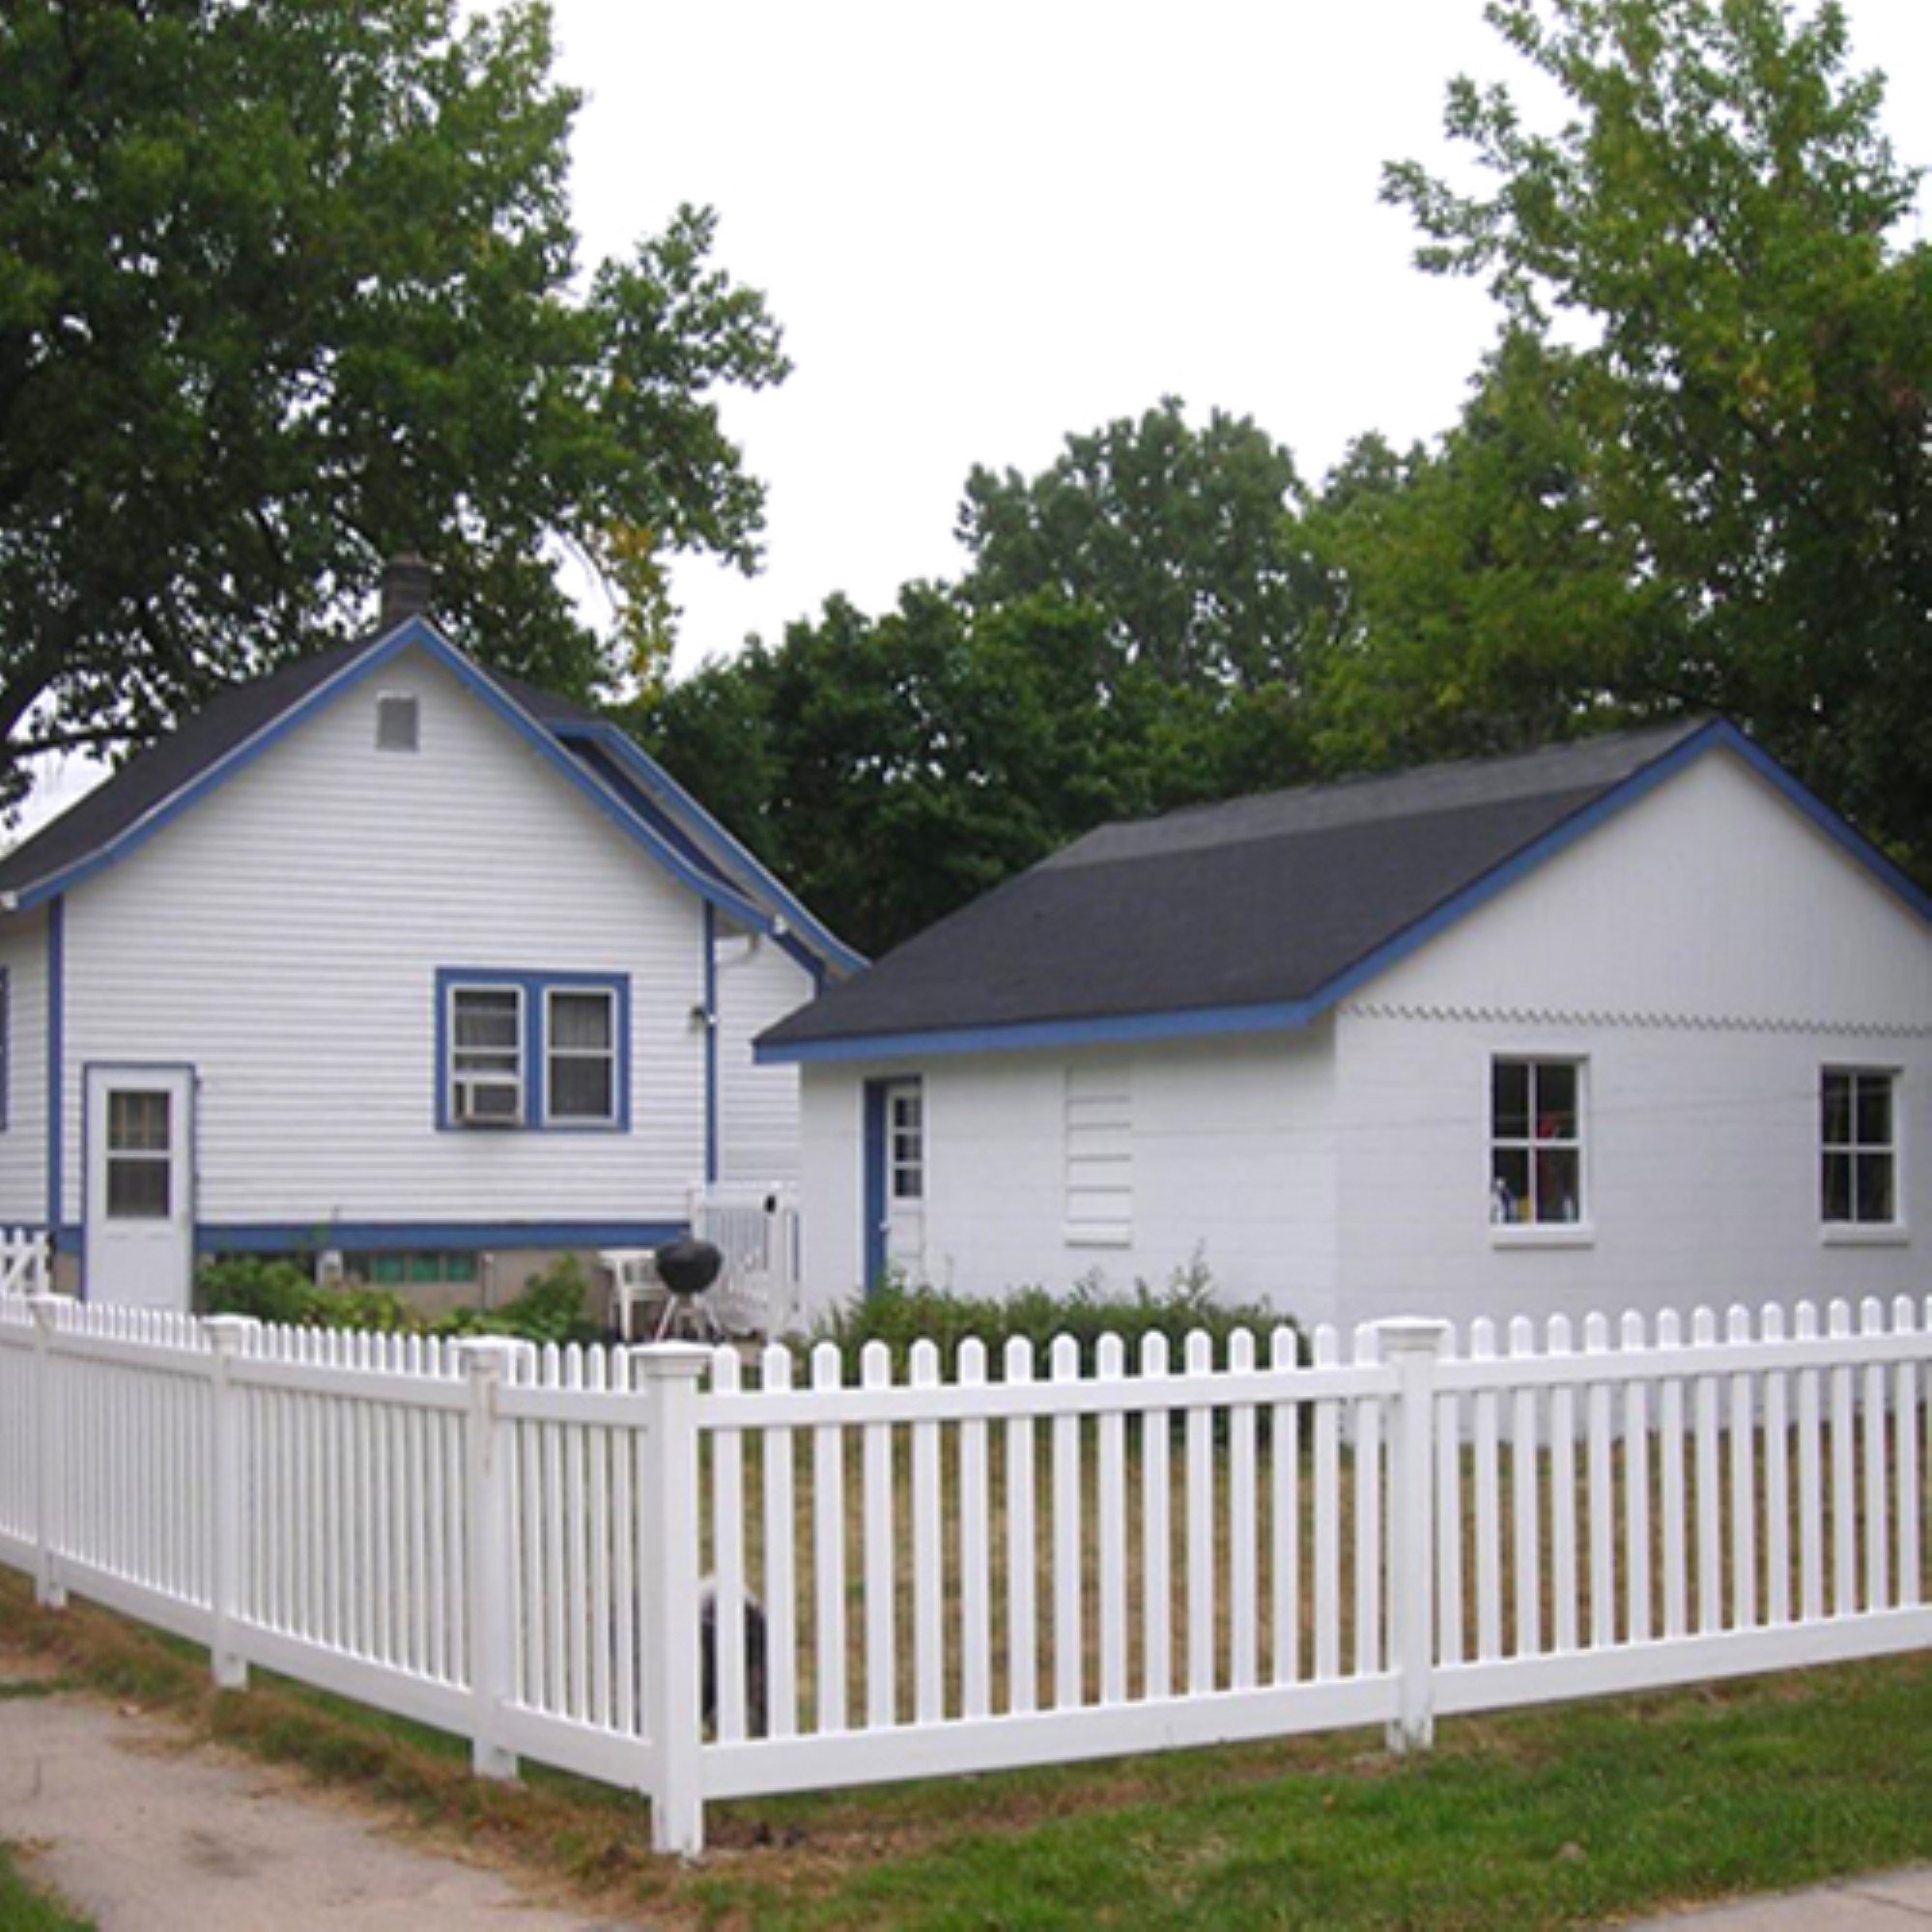
Vinyl fence is extremely popular because of its clean look, privacy options, and low maintenance. It requires very little upkeep besides cleaning it when it gets dirty. Like any fence, things happen, and something may break due to weather, rocks being kicked up while mowing, or kids throwing stuff. Repairing a vinyl fence is not as bad as some people may think. With the right tools, almost anyone can do it themselves. It is always recommended to keep any leftover sections or pieces of the vinyl fence after installing it. Also, when buying the fence, it's a good idea to buy an additional section and spare posts. This makes it cheaper and less of a hassle to replace or repair when the time comes to fix the fence.
There are a few ways to repair or replace vinyl fence parts, depending on the damage's seriousness. A common issue is rocks being thrown up by the lawn mower and creating holes in the vinyl. Another issue is a tree limb fell onto the fence during a storm. Whatever the damage may be, there's a way to either repair or replace the vinyl fence.
Repairing A Hole
Repairing a hole in a vinyl fence is cheaper than replacing the whole section or panel. Whatever the size of the hole is, there are a few tools needed before starting.
- Expandable Foam
- Plastic Filler
- Touch-Up Paint Matching Fence Color
- Soft Rag
- Soapy Water
- Sandpaper (Anything Under 200 Grit)
- Putty Knife
- Fine-Tooth Saw
Repairing Vinyl Fence - A Step By Step Guide:
Clean The Damaged Area
The first thing to do is to clean the area where the hole or crack is in the fence. Take the soapy water and rag, and wash off any dirt or grime around the area. Rinse it off using a hose and let it dry.
Sand The Damaged Area
Once the area is clean and dry, use sandpaper to smooth out the rough edges of the entire area. It's recommended to manually sand the area instead of using a belt sander. The belt sander can do more damage. Wipe the spot clean.
Fill The Hole With Foam
Skip this step if you're repairing smaller cracks. However, use the expanding foam to fill in the gaps for large cracks or holes. Be sure to fill in all the crevices with the foam. Let the foam set per the manufacturer's instructions.
Cut The Excess Foam
Once the foam is dry, use the saw to cut off any excess foam past the hole. Try to cut as close as possible to the vinyl fence. Once most of the foam is cut off, take the sandpaper and get the remainder flush with the fence. Wipe the area clean afterward.
Apply Plastic Filler
After getting the foam flush (or even a little concave) with the fence, it's time to seal it. Take a putty knife and apply the plastic filler to the area. Smooth it out so it's flush with the surface. Let the plastic filler dry.
Sand Excess Filler
Once the plastic filler is dry, use sandpaper to smooth out the excess. Make sure this is flush with the fence. Once done, wipe the area with a damp cloth and let dry.
Apply Touch-Up Paint
The last step is to apply the touch-up paint. Once the paint is dry, the repair job is done!
Replacing A Fence Panel
If the holes or cracks in the vinyl fence are too large to be patched over, it will be necessary to replace the entire panel. Fortunately, this is easier than most people think it is. This is where having a spare panel will come in handy. If you don't have a spare panel, look back at what color and size were ordered before and purchase however many are needed. There are a couple of tools needed here:
- Screwdriver (Drill) With Correct Drill Bit (Probably Phillips Or Square)
- Hammer
- Chisel
- Vinyl Glue
Take Post Caps Off
Take the chisel and hammer and lightly tap the post caps until all that is necessary are off. The chisel will help break through any glue that is holding the post cap on.
Unscrew Top Rail
Take the screwdriver and remove any screws holding the top rail in place. Once this is done, slide the top rail out of the posts holding it up.
Take Panels/Slats Out
Remove the fence panels that need to be replaced. It may be necessary to keep them in order if they are custom fit to the size of the section. Usually, the slats are interlocking, but if they are not, remove any screws holding them up.
Install New Slats/Panels
Either screw in or lock the new slat in place. Make sure all the slats are in order and flush.
Put Top Rail Back On
Once all the slats are in place, put the top rail back on and through the holes in the posts. Go ahead and screw the rail in place inside the post so it won't come out. Once that is done, take the glue, apply some to the post caps, and tap them back onto the posts.
Replacing Vinyl Fence Post
Replacing a fence post takes a little more work. If you have a spare post, you can get started immediately. Make sure it is the correct post. There are differences between corner, line, end, and gate posts. Before getting started, there are a few tools needed:
- Screwdriver (Drill) With Correct Drill Bit (Probably Phillips Or Square)
- Hammer
- Chisel
- Vinyl Glue
- Replacement Post
- Quick-Setting Concrete
- Shovel Or Spade
Take Fence Panel/Slats Out
This step is the same as replacing a fence panel. Follow the above steps to remove the post caps, top rail, slats, and bottom rail. Once the panel is taken off, there should only be two posts.
Dig Out Damaged Post
Depending on how the post was installed, it may be necessary to dig around the concrete to get the post out. Take out any concrete fragments, or if the post was not held in concrete, simply dig around and take the broken post out.
Measure The Distance Between Two Existing Poles
Measure the distance between two existing poles. This will determine how much distance is needed to install the new post. Find out the exact position the new post will need to be installed.
Set New Pole In Place
Once you have determined the position for the new pole, dig a new hole or use the existing hole. Use the same hole measurements as previously used in the original installation. Once it is dug out, use the quick-setting concrete and fill in the hole. When pouring, have someone hold the pole in position so it doesn't move. Let the concrete set.
Reinstall The Fence Panels/Slats
Once the concrete has been set, reinstall the panels, top and bottom rails, and post caps. Once done, the installation is complete!